


Launching a mobile app can feel overwhelming, especially when you're weighing the cost, timeline, and risk of building something your customers might not even use.
That's where an MVP (Minimum Viable Product) comes in. According to CB Insights, 35% of startups fail because they build products nobody wants. An MVP lets you test your app idea with real users before investing in a full-scale build, dramatically reducing risk and wasted resources.
For Shopify merchants and DTC brands, an MVP mobile app can mean the difference between guessing what works and knowing what drives conversions. You get to validate demand, gather user feedback, and refine your strategy, all while keeping costs low and speed high.
In this article, you'll learn exactly how to build a mobile app MVP in 2026, from defining your core features to launching on iOS and Android, with specific insights for eCommerce brands looking to convert browsers into buyers.
Overview
- An MVP helps reduce development risk and lets you validate demand before committing to a complete build.
- No-code platforms let Shopify merchants launch native iOS and Android apps in 1–2 weeks vs. 3–6 months with custom development.
- The MoSCoW method ensures you build only essential features first, keeping costs low and launch speed high.
- Mobile app users generate higher conversion rates than mobile web visitors for eCommerce brands.
- Beta testing with 10–50 loyal customers provides actionable feedback without overwhelming your support team.
- Real-time Shopify sync and push notifications are Must-Have features that drive retention and repeat purchases.
What Is a Mobile App MVP?
An MVP is the simplest version of your app that solves a specific problem for your users.
It's not a half-finished product or a beta test. It's a fully functional app with just enough features to deliver core value and collect meaningful feedback. The goal is to learn fast, validate assumptions, and build only what matters.
The Core Principles of an MVP
Think of an MVP as a testing ground. You're not building everything your app could do; you're creating the most miniature version that proves your concept works.
For Shopify merchants, this might mean:
- Product browsing synced directly from your Shopify catalog
- Basic checkout with saved payment methods
- Push notifications for abandoned carts and order updates
- User accounts with order history
That's it: no loyalty programs, no AR try-on, no social sharing, at least not yet.
Why Shopify Merchants Need a Mobile App MVP?
If you're running a Shopify store, you already know mobile traffic is growing. But mobile web conversions still lag behind desktop.
Statista reports that mobile commerce will account for 62% of total eCommerce sales by 2027. Yet the average mobile web conversion rate sits at just 2.2%, compared to 4.3% on desktop. The gap isn't about traffic, it's about experience.
Mobile Apps Outperform Mobile Websites
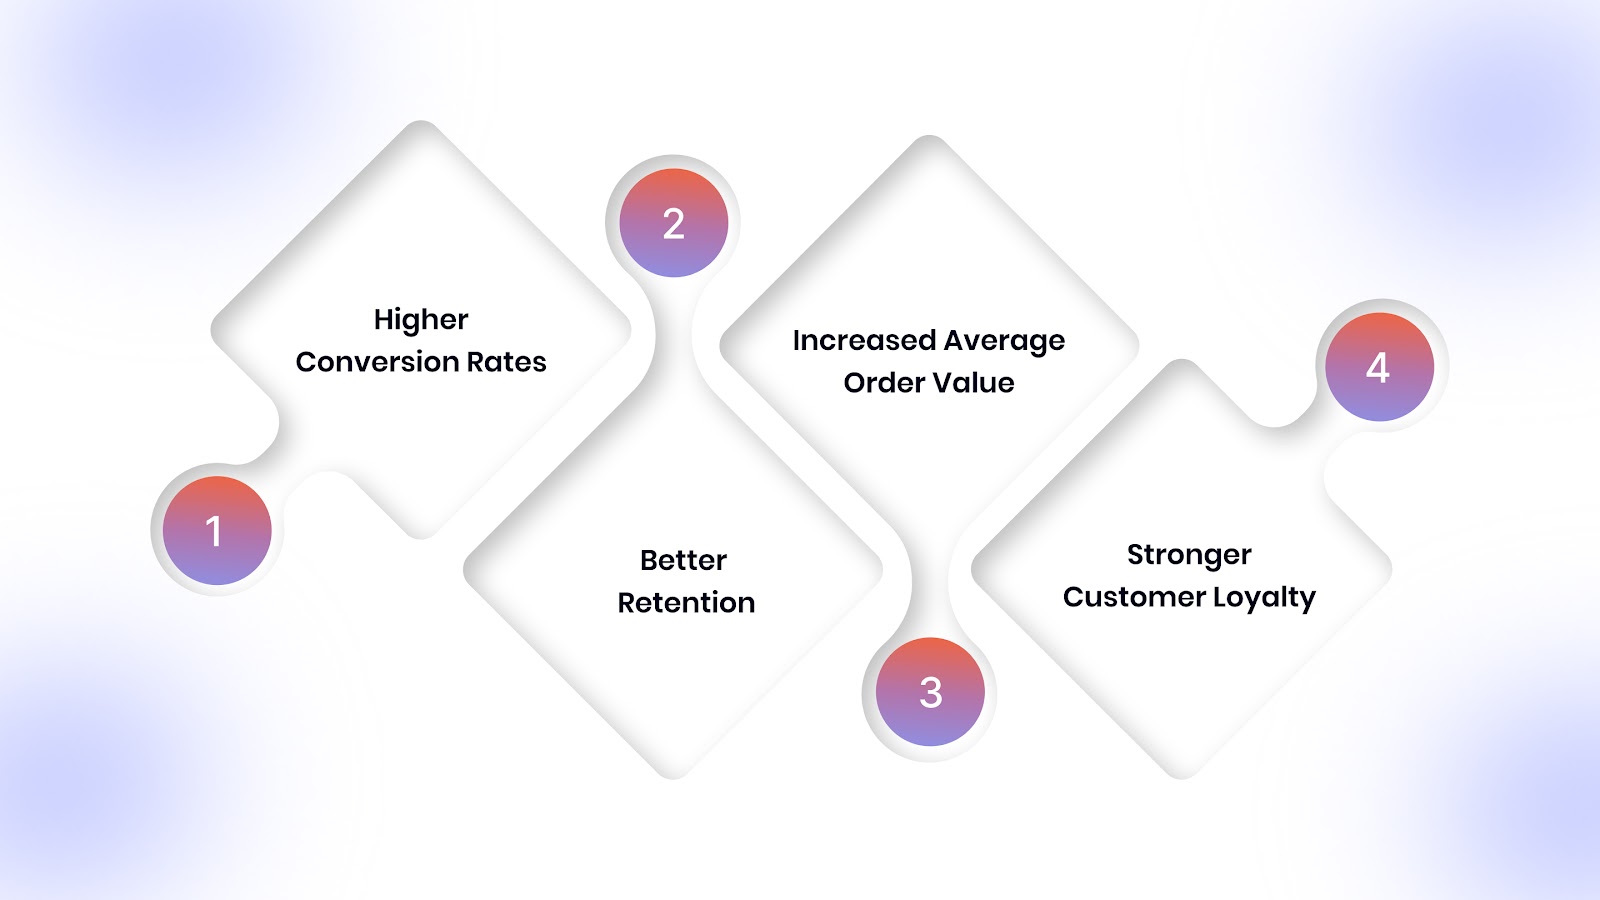
Here's why a mobile app changes the game for Shopify merchants:
- Higher Conversion Rates: App users convert at 3x the rate of mobile web visitors. The combination of faster load times, saved payment methods, and smoother navigation reduces friction at every step.
- Better Retention: Push notifications keep your brand top-of-mind. When a customer abandons their cart, you can reach them within minutes, not hours or days, through email.
- Increased Average Order Value: App users spend 2x as much per session as mobile web users. Personalized product recommendations and exclusive app-only deals drive larger basket sizes.
- Stronger Customer Loyalty: Once someone downloads your app, they're signaling commitment. They've made space on their home screen for your brand. That's powerful.
Why Start with an MVP?
Building a full-featured app costs $50,000–$150,000 and takes 3–6 months. That's a massive investment before you know if your customers will even download it.
A mobile app MVP lets you:
- Test demand with a small segment of your best customers
- Validate features that actually drive purchases, not guesses about what might work
- Prove ROI before scaling investment
- Launch in weeks instead of months, capturing mobile revenue faster
For Shopify merchants, the risk of not having a mobile app is real. Your competitors are already capturing mobile buyers. An MVP gets you in the game fast without betting the farm.
Also read: Navigating the Mobile Commerce Landscape: Trends and Insights into 2024
Step-by-Step Guide to Building Your Mobile App MVP
Now that you understand what an MVP is and why it matters, let's walk through the exact process of building one for your Shopify store.
This step-by-step framework takes you from initial concept to app store launch. Whether you're using a no-code platform or working with developers, these steps ensure you stay focused on what matters: validating your idea fast and learning from real user behavior. Each step builds on the previous one, creating a clear path from planning to launch.
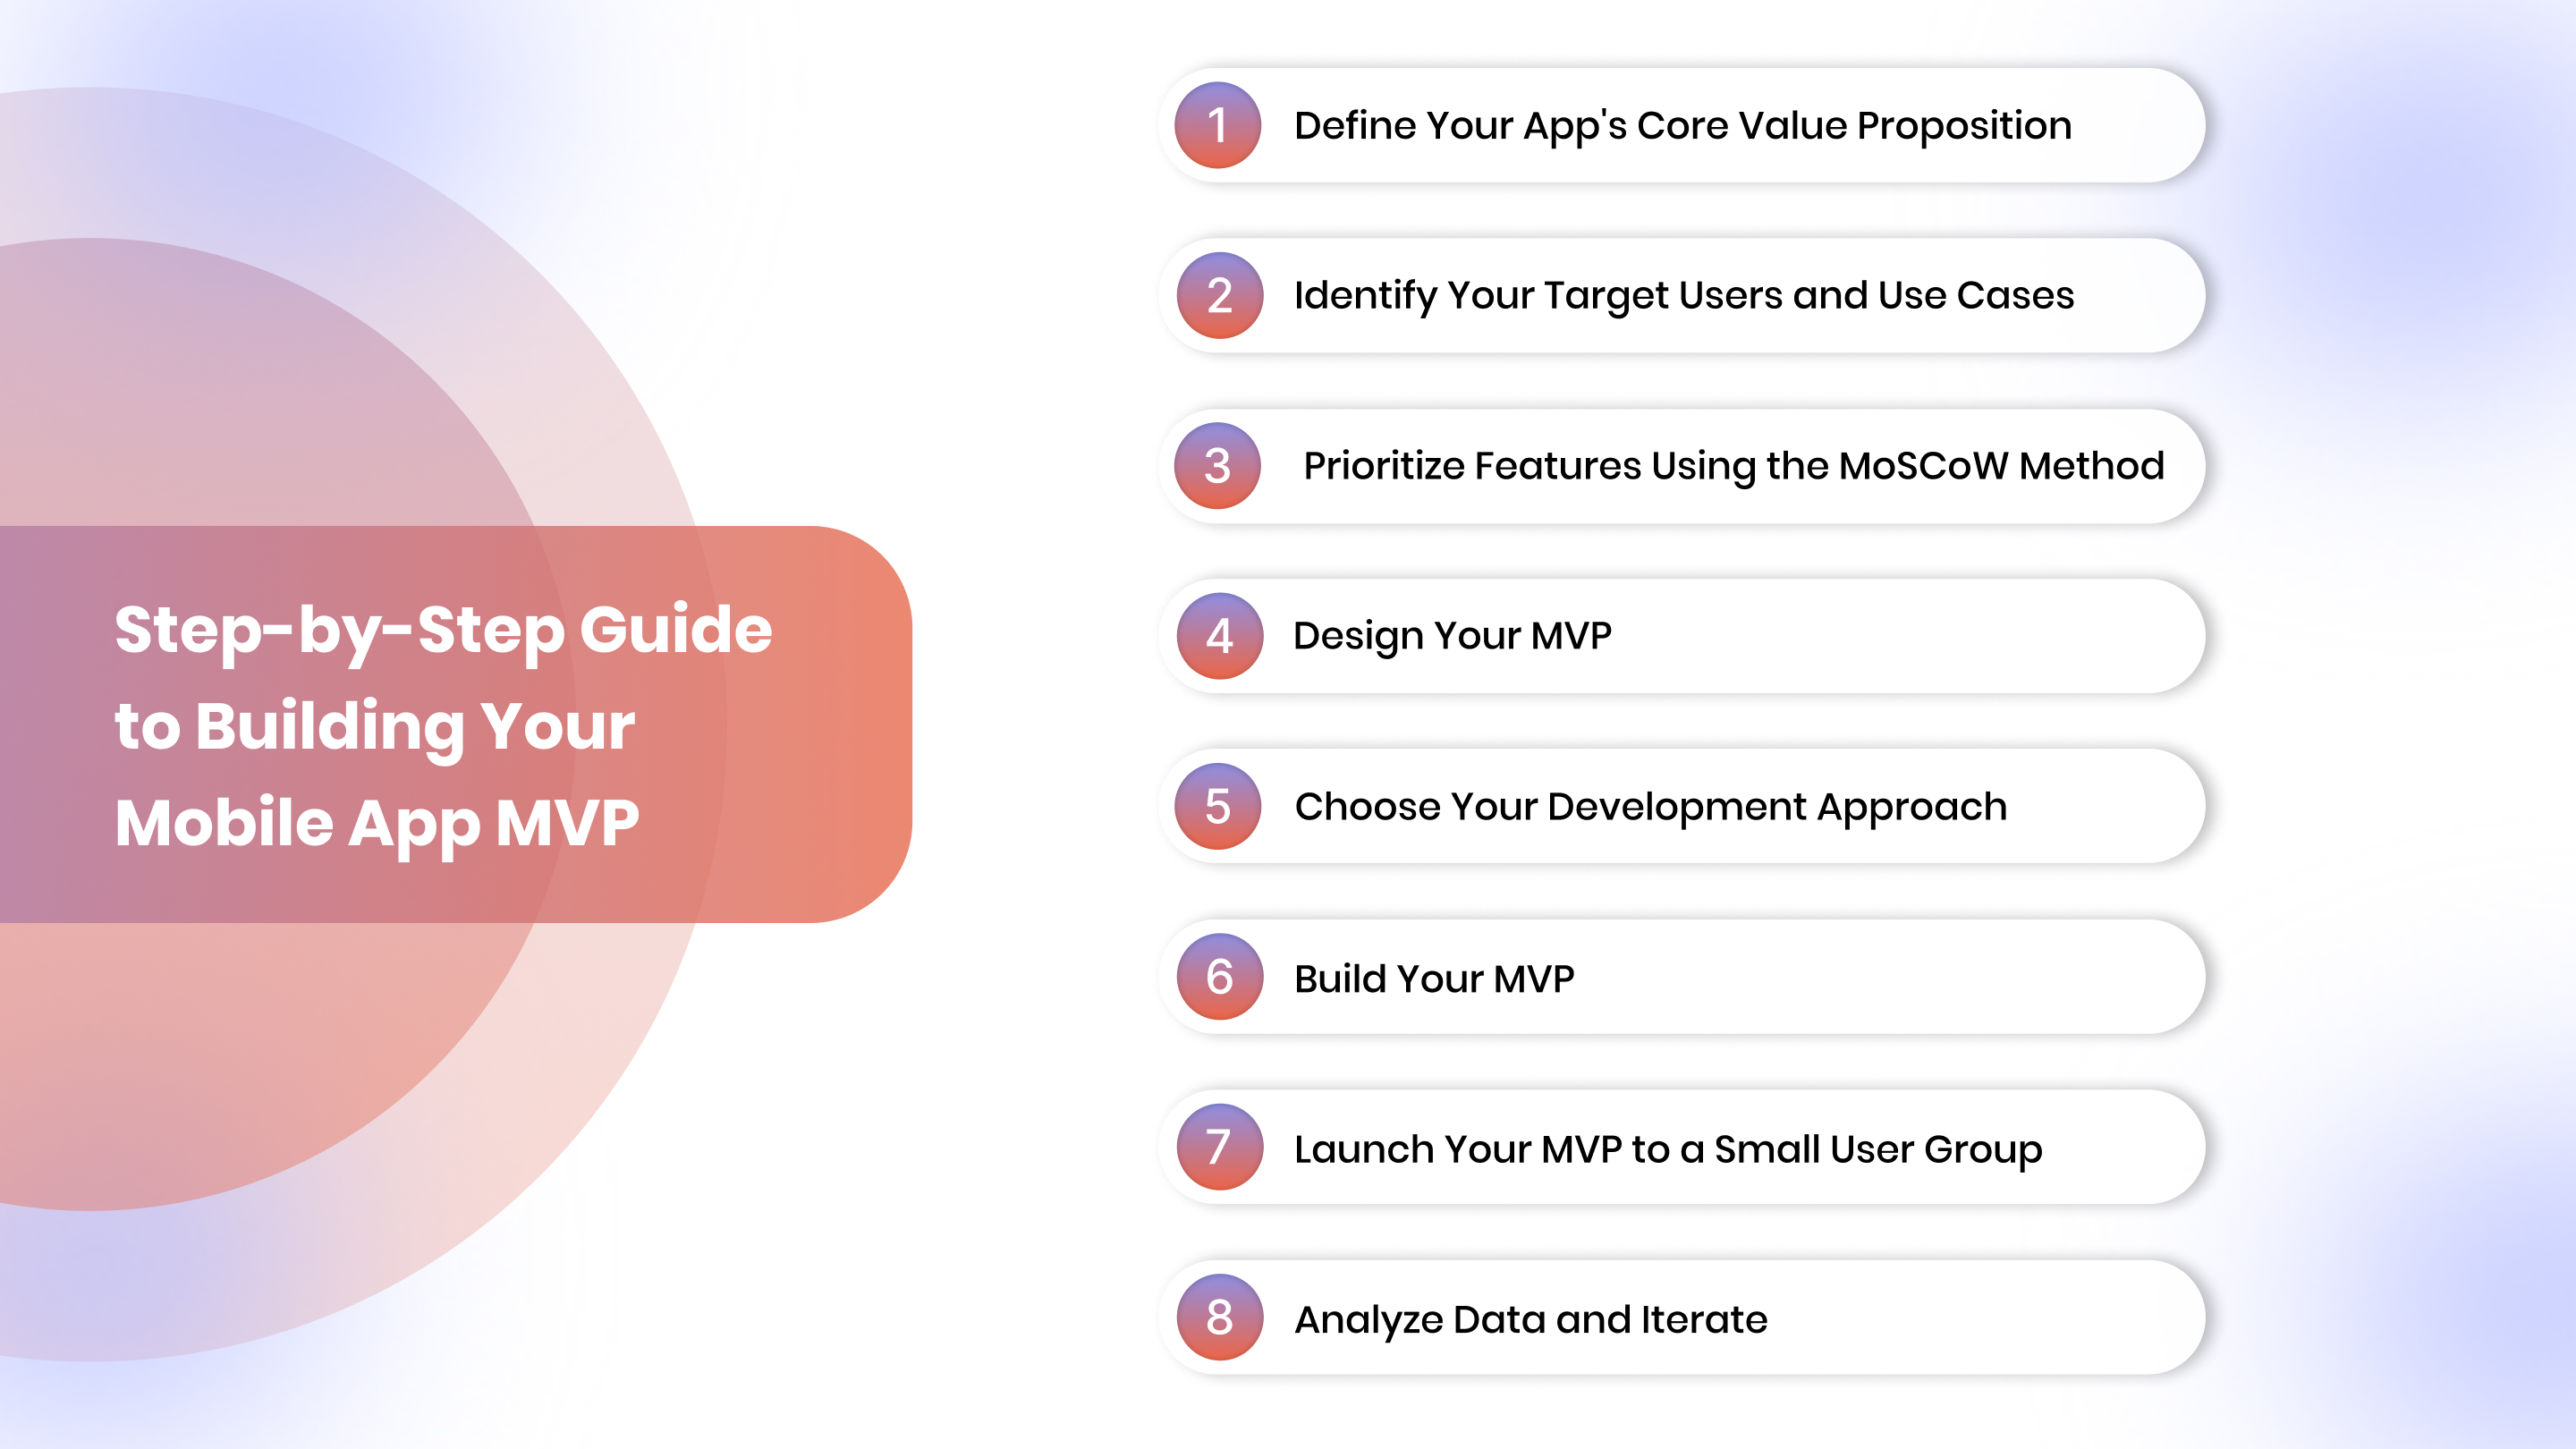
Step 1: Define Your App's Core Value Proposition
Before you write a single line of code or design a single screen, you need clarity on what problem your app solves.
Ask Yourself Three Questions
- What specific problem does this app solve for my customers?
Example: Faster checkout, exclusive deals, early access to new products
- Why would someone download and use this app instead of visiting my mobile website?
Example: Push notifications for back-in-stock alerts, loyalty rewards, and smoother browsing
- What's the one feature that delivers the most value?
Example: One-tap reordering for subscription products
Your answers shape everything, from feature prioritization to user experience design.
Step 2: Identify Your Target Users and Use Cases
Not every customer needs your app. Your MVP should target a specific segment with a clear use case.
Define Your ICP (Ideal Customer Profile)
For eCommerce brands, consider:
- Repeat buyers who purchase monthly or quarterly
- High-AOV customers who spend above your store's average
- Engaged subscribers already on your email or SMS list
These users are more likely to download your app, engage with push notifications, and provide valuable feedback.
Map Out Key User Journeys
Focus on 2–3 critical paths:
- Browse → Add to Cart → Checkout
- Receive Push Notification → Open App → Complete Purchase
- View Product → Save to Wishlist → Return Later
Your MVP should nail these journeys without distractions.
Step 3: Prioritize Features Using the MoSCoW Method
The biggest MVP mistake is adding too many features. Use the MoSCoW framework to prioritize ruthlessly:
- Must-Have: Features your app can't function without
- Should-Have: Important but not essential for launch
- Could-Have: Nice-to-haves that can wait
- Won't-Have: Features you're explicitly excluding from the MVP
Example Feature Prioritization for a Shopify App MVP
Must-Have:
- Product browsing synced with the Shopify catalog
- Add to cart and checkout
- User accounts and order history
- Push notifications for order updates
Should-Have:
- Saved payment methods
- Product search and filters
- Wishlist functionality
Could-Have:
- Loyalty points display
- In-app chat support
Won't-Have:
- AR product visualization
- Social sharing
- Gamification
Start with your Must-Haves. Everything else can be tested and added later based on user feedback.
Step 4: Design Your MVP (Keep It Simple)
Design drives adoption. But for an MVP, you don't need pixel-perfect screens or complex animations.
Focus on Usability Over Aesthetics
Your MVP design should be:
- Clean and intuitive with straightforward navigation
- Mobile-first with touch-friendly buttons and spacing
- On-brand but not over-designed
- Fast with minimal loading times
Use Design Tools That Speed Up Development
If you're not a designer, use tools like:
- Figma for wireframes and mockups
- Canva for quick brand assets
- Pre-built UI kits to avoid starting from scratch
For Shopify merchants, platforms like Appmaker let you convert Figma designs or screenshots into app layouts using AI, no design skills required. Book a demo to explore more.
Keep Screen Count Low
Your MVP should have 5–8 core screens:
- Home/Product Feed
- Product Detail
- Cart
- Checkout
- Account/Profile
- Order History
- Notifications
- Settings
Anything beyond this adds complexity and slows down your launch.
Step 5: Choose Your Development Approach
You have three options for building your MVP: native development, cross-platform frameworks, or no-code platforms.
Option 1: Native Development (iOS + Android)
Pros:
- Best performance and user experience
- Full access to device features
Cons:
- Expensive ($50,000–$150,000+)
- Requires separate codebases for iOS and Android
- Longer timelines (3–6 months minimum)
Best for: Brands with significant budgets and technical resources.
Option 2: Cross-Platform Frameworks (React Native, Flutter)
Pros:
- Single codebase for iOS and Android
- Faster than native development
- More affordable ($30,000–$80,000)
Cons:
- Still requires developers
- Limited access to some native features
- Moderate timeline (2–4 months)
Best for: Brands with some technical resources looking for cost efficiency.
Option 3: No-Code Platforms (Appmaker, Shopify Apps)
Pros:
- Fastest time to market (days to weeks)
- No developer required
- Real-time Shopify sync
- Lowest cost ($99–$500/month)
Cons:
- Less customization for highly complex apps
Best for: Shopify merchants testing mobile app demand without heavy upfront investment.
Recommendation for Shopify Merchants
If you're running a Shopify store and want to launch your MVP fast, no-code platforms like Appmaker are your best bet. You get a fully native app synced with your store, push notification capabilities, and analytics, without hiring a development team.
Step 6: Build Your MVP (Development Best Practices)
Whether you're coding or using a no-code platform, follow these principles to keep your MVP lean and functional.
Set Up Core Integrations First
Your app needs to talk to your existing systems:
- Shopify sync for products, inventory, orders, and customers
- Payment gateway integration (Shopify Payments, Stripe, PayPal)
- Analytics tools like Google Analytics or Mixpanel
- Push notification service for marketing campaigns
Most no-code platforms handle these integrations out of the box.
Build in Sprints
Break development into 1–2 week sprints:
- Sprint 1: Set up product browsing and user accounts
- Sprint 2: Add cart and checkout flow
- Sprint 3: Integrate push notifications and order tracking
- Sprint 4: Test, debug, and polish
This approach keeps you focused and lets you test incrementally.
Test Continuously
Don't wait until launch to test. Check for:
- Broken links or navigation errors
- Slow load times
- Checkout flow issues
- Push notification delivery
Use real devices (iOS and Android) to catch platform-specific bugs.
Step 7: Launch Your MVP to a Small User Group
Don't launch to everyone at once. Start with a controlled beta to gather feedback and fix issues before a public release.
Identify Your Beta Testers
Target:
- Your most loyal customers (repeat buyers, high-AOV shoppers)
- Email or SMS subscribers who've shown interest in exclusive perks
- 10–50 users for meaningful feedback without overwhelming your support team
Set Clear Expectations
Tell your beta testers:
- This is an early version focused on core features
- You're collecting feedback to improve the app
- They'll get exclusive perks or early access for participating
Collect Structured Feedback
Use surveys or in-app prompts to ask:
- What do you like most about the app?
- What's frustrating or confusing?
- What feature would make you use the app more often?
Track metrics like:
- Download-to-signup conversion
- Session duration
- Checkout completion rate
- Push notification open rate
Step 8: Analyze Data and Iterate
Your MVP launch is just the beginning. The real work is analyzing user behavior and iterating based on what you learn.
Focus on These Key Metrics
For eCommerce apps, track:
- Active users (daily and monthly)
- Retention rate (7-day, 30-day)
- Average order value (app vs. web)
- Conversion rate (browse to purchase)
- Push notification engagement
Identify Drop-Off Points
Where are users leaving your app?
- High cart abandonment? Simplify checkout.
- Low product browsing? Improve navigation or search.
- Poor push notification opens? Test messaging and timing.
Prioritize Quick Wins
Look for changes that take minimal effort but improve key metrics:
- Adding a "Save for Later" button
- Enabling Apple Pay or Google Pay
- Sending personalized push notifications based on browsing history
Iterate in small batches and measure impact before adding more features.
Also read: How Ecommerce Brands are using Mobile Apps to Win BFCM 2025
How to Scale Your MVP After Validation
Once you've validated your MVP and confirmed demand, the next phase is strategic scaling. This is where you transform your lean app into a comprehensive growth engine.
Moving from MVP to a full-featured app requires careful planning. You don't want to add features randomly; you want to build based on data, user requests, and business impact.
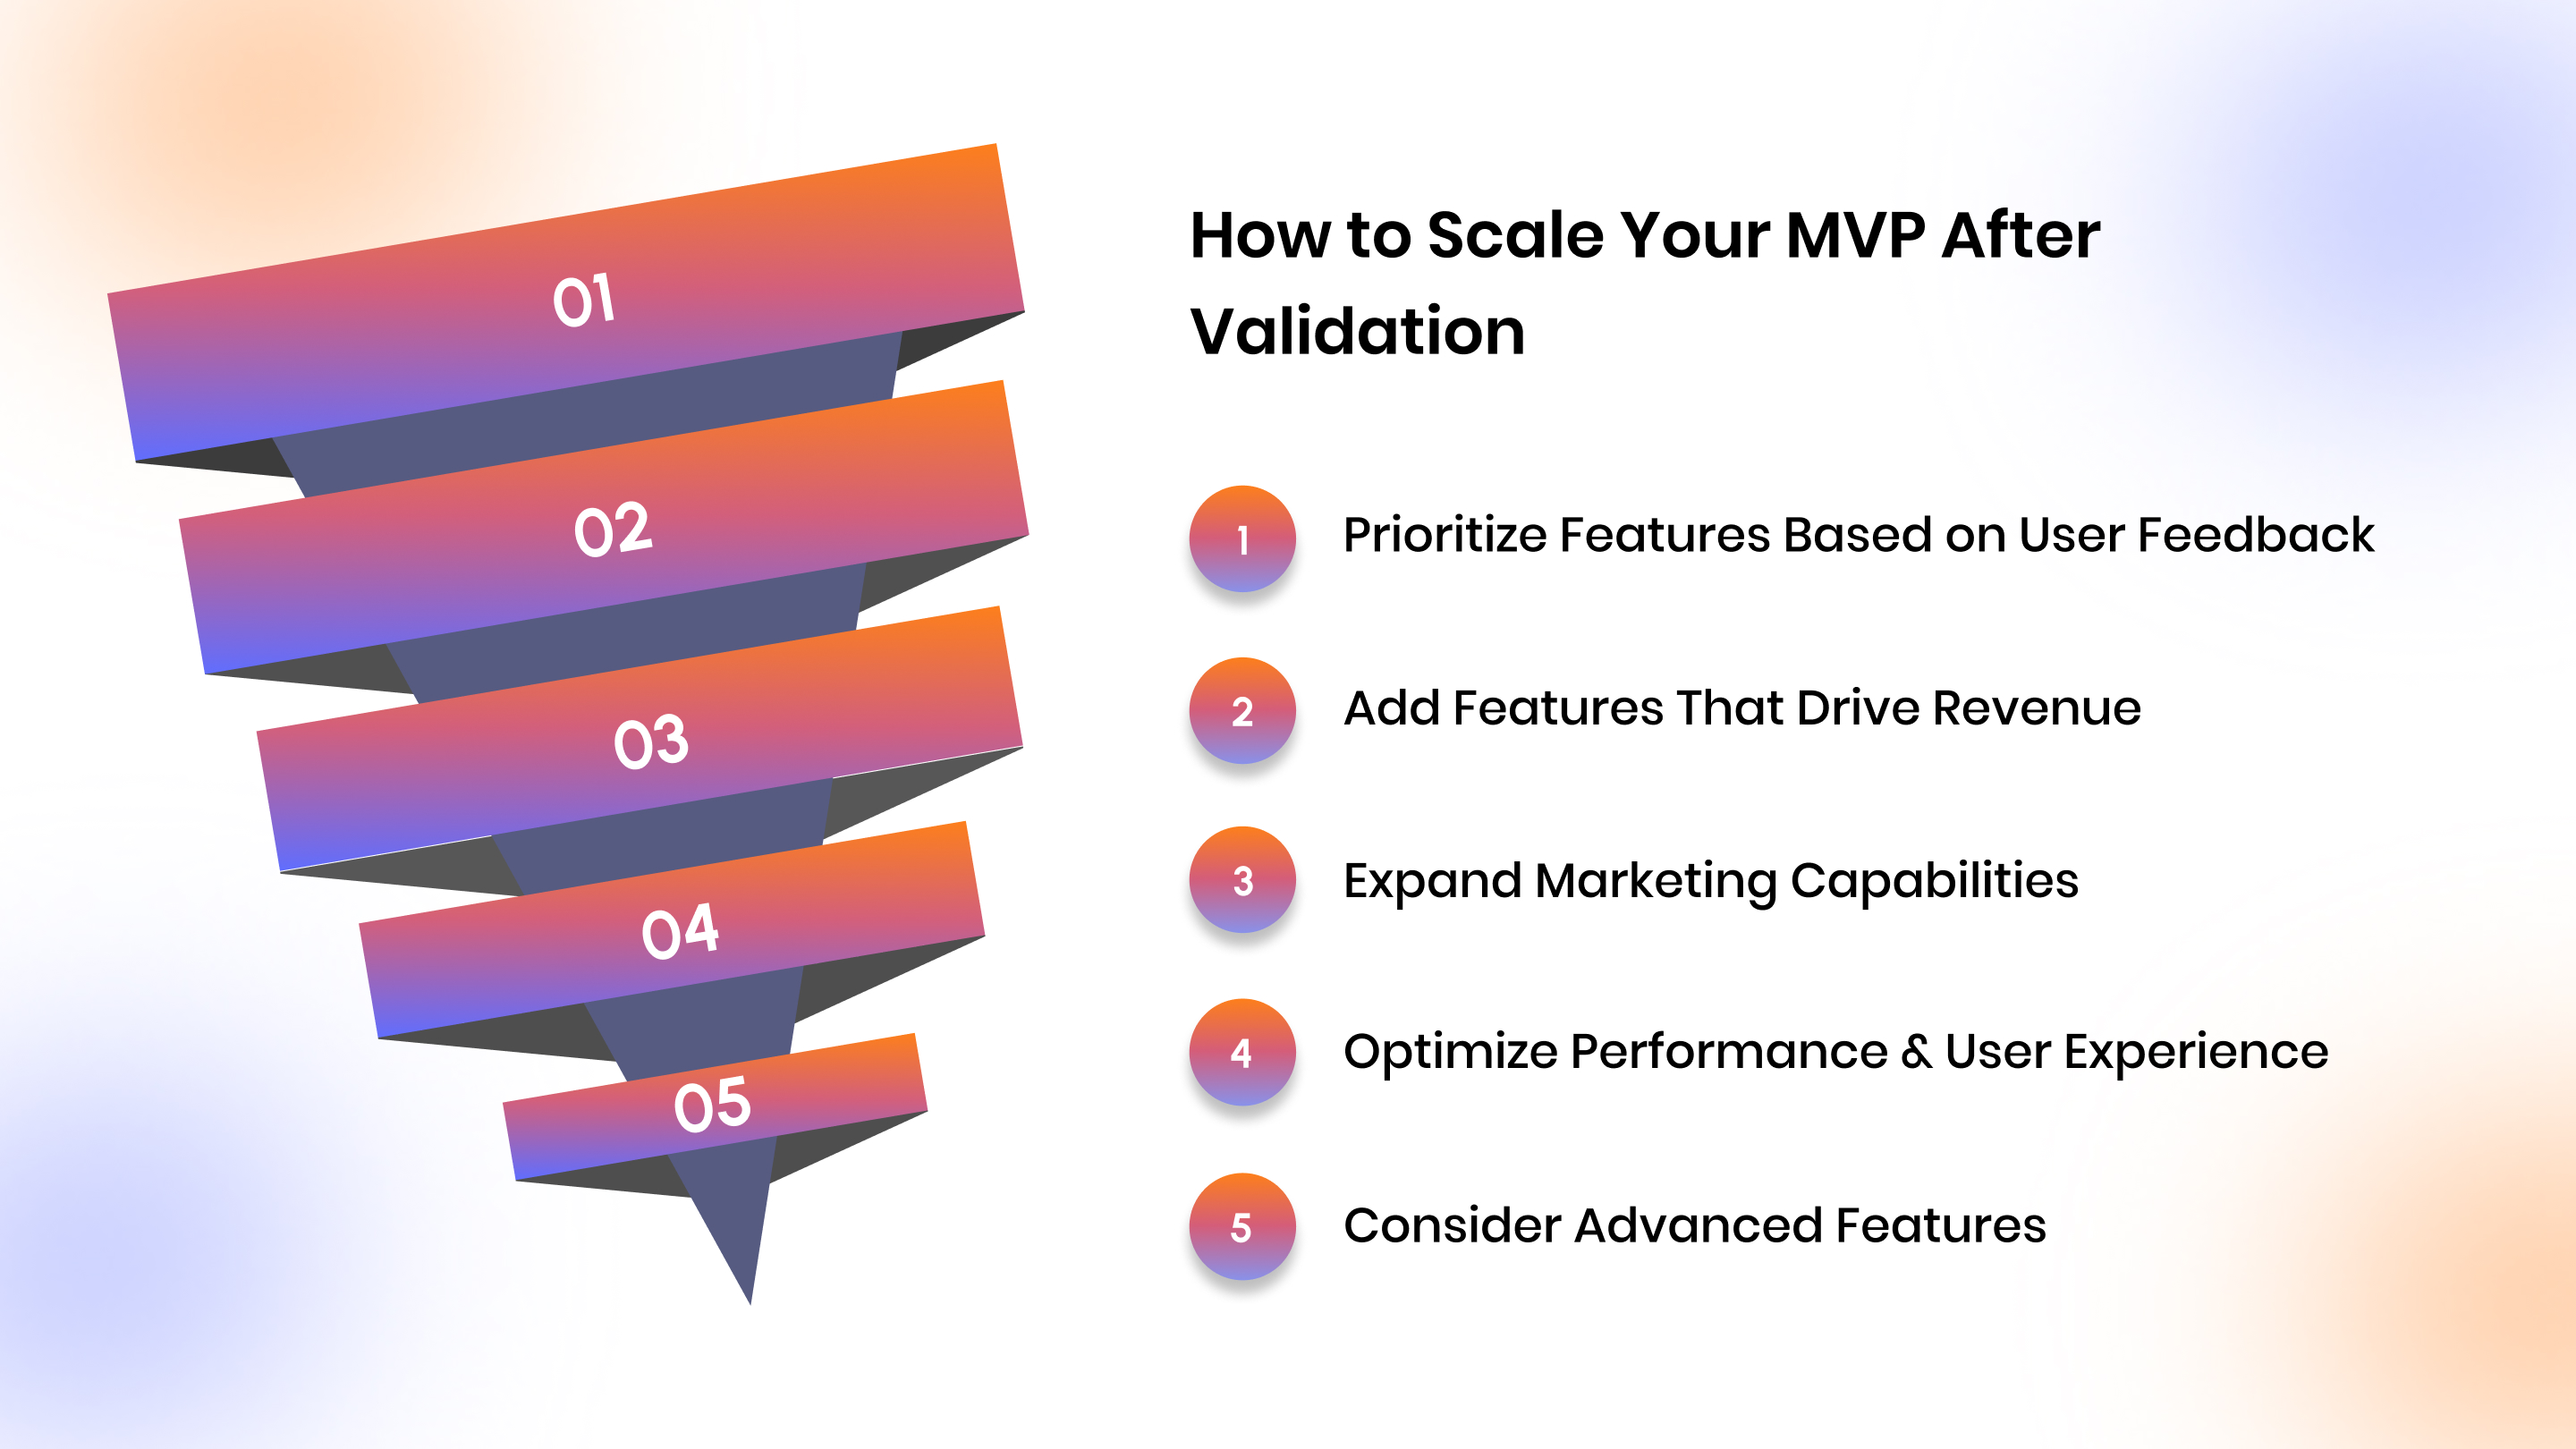
Prioritize Features Based on User Feedback
Return to the feedback you collected during beta testing and the early launch. Look for patterns:
- Which features are users repeatedly asking for?
- Where are users getting stuck or frustrated?
- What would increase retention or average order value?
Create a roadmap that addresses the highest-impact requests first.
Add Features That Drive Revenue
Focus on capabilities that directly impact your bottom line:
- Loyalty programs to increase repeat purchase rates
- Personalized recommendations powered by browsing and purchase history
- Exclusive app-only products or early access to drive downloads
- Subscription management for recurring revenue streams
Expand Marketing Capabilities
Once your core app experience is solid, layer in advanced marketing features:
- Segmented push campaigns based on user behavior
- Abandoned cart automation with dynamic product images
- In-app promotions timed to seasonal sales or inventory levels
Optimize Performance and User Experience
As your user base grows, invest in:
- Faster load times through image optimization and caching
- Advanced search with filters, sorting, and autocomplete
- Enhanced checkout with more payment options and address autocomplete
Consider Advanced Features
Only after validating demand and revenue impact should you explore:
- AR product visualization for furniture, fashion, or beauty brands
- Social commerce features like user-generated content or reviews
- Community features like forums or live shopping events
The key is to scale methodically. Each new feature should solve a proven problem or unlock a measurable revenue opportunity.
Common MVP Mistakes to Avoid
Even with a clear plan, it's easy to make mistakes that slow down your launch or waste resources. Here's what to avoid:
- Adding Too Many Features
The more features you add, the longer it takes to launch and the harder it is to identify what's working. Stick to your Must-Haves and resist the urge to add "just one more thing."
- Skipping User Research
Building an app based on assumptions instead of real customer pain points leads to low adoption. Talk to your customers before you start designing.
- Ignoring Platform Guidelines
iOS and Android have specific design and functionality guidelines. Ignoring them can delay your app store approval or hurt user experience.
- Launching Without Analytics
If you can't measure how users interact with your app, you can't improve it. Set up analytics from day one.
- Treating Your MVP as a Final Product
Your MVP is meant to be iterated on. Don't wait for perfection; launch, learn, and improve.
How Appmaker Helps Shopify Merchants Build Native App MVPs Fast?
Building a mobile app MVP doesn't have to take months or drain your budget, especially if you're already on Shopify.
Appmaker is a no-code platform that converts your Shopify store into fully native iOS and Android apps in days, not months. You get everything you need for a successful MVP without writing a single line of code.
Key Features for Your MVP
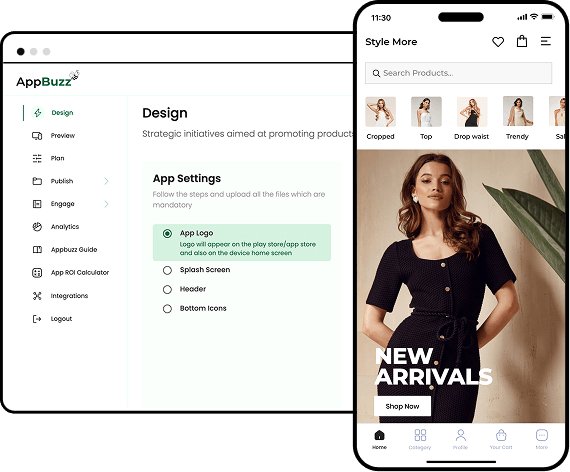
- Appmaker Studio: A drag-and-drop builder that lets you design your app layout visually. No design or coding skills required.
- Real-Time Shopify Sync: Your products, inventory, orders, and customer data sync automatically. No manual updates or complex integrations.
- Push Notifications: Send targeted campaigns for abandoned carts, new product drops, flash sales, and more, directly from your dashboard.
- Eidolon AI: uploads a Figma file or screenshot, and Appmaker's AI converts it into a working app layout. Perfect for merchants who want a custom look without hiring designers.
- John AI: Get analytics, sales insights, and forecasts powered by AI. Track which features drive conversions and where users drop off.
Why Shopify Merchants Choose Appmaker for MVPs?
- Launch in weeks, not months.
- No developer required, build and manage everything yourself.
- Native performance on iOS and Android.
- Real-time sync ensures your app is always up to date with your Shopify store.
If you're ready to test mobile app demand without heavy upfront investment, Appmaker lets you launch, learn, and iterate fast.
Conclusion
Building a mobile app MVP in 2026 is faster, cheaper, and more accessible than ever, especially for Shopify merchants and DTC brands.
By focusing on core features, validating with real users, and iterating based on data, you reduce risk and increase your chances of building something customers actually want. The key is to start small, launch fast, and improve continuously.
If you're ready to turn your Shopify store into a native mobile app without hiring developers or writing code, Appmaker gives you everything you need to launch your MVP in weeks: real-time sync, push notifications, AI-powered design, and built-in analytics, all in one platform.
Start building your mobile app MVP today. Explore Appmaker's free trial and see how fast you can go from idea to app store.
FAQs
1. How long does it take to build a mobile app MVP?
With no-code platforms like Appmaker, you can launch a mobile app MVP in 1–2 weeks. Custom development typically takes 2–4 months, depending on complexity and team availability.
2. What's the average cost of building an MVP mobile app?
No-code platforms cost $99–$500/month. Cross-platform development ranges from $30,000–$80,000, while native development costs $50,000–$150,000+.
3. Do I need separate MVPs for iOS and Android?
No. Most no-code platforms and cross-platform frameworks let you build a single app that works on both iOS and Android simultaneously, saving time and money.
4. How do I know which features to include in my MVP?
Use the MoSCoW method to prioritize. Focus only on Must-Have features that solve your users' core problem. Everything else can be added later based on feedback.
5. Can I build a mobile app MVP without a developer?
Yes. No-code platforms like Appmaker let Shopify merchants build fully native apps without any coding. You design, customize, and launch everything yourself using drag-and-drop tools.